Lesson Plan for Honor Tiles
Our ‘collaborative community’ is not just at school. There are a lot of adults in your life besides the paras, teachers, and other staff you see at Broadwater. Each of us is supported by friends and family. Think about the adults in your life that you rely on. Each of these people is important in your own personal community and helps support your learning. We need our support network to help us when things are tough and to celebrate our successes. Today, you all will be making tiles to honor the family, friends, coaches, instructors, and others who care for you and help you to learn.
You are welcome to make as many honor tiles as you have time for; there are so many great people in our lives that we need to remember to recognize and thank. You might make tiles for parents, siblings (who aren’t at Broadwater), grandparents, aunts, uncles, cousins, and that’s just family members! Think about the other adults who take the time to work with you, like coaches, music and dance instructors, babysitters, church groups, after school activity leaders, tutors, family friends, and more.
All of us are unique, special, and different. No one in our community is exactly the same. We each bring our unique talents and personality to the collaborative community. Each student at our school is part of a huge community who supports and cares for us!
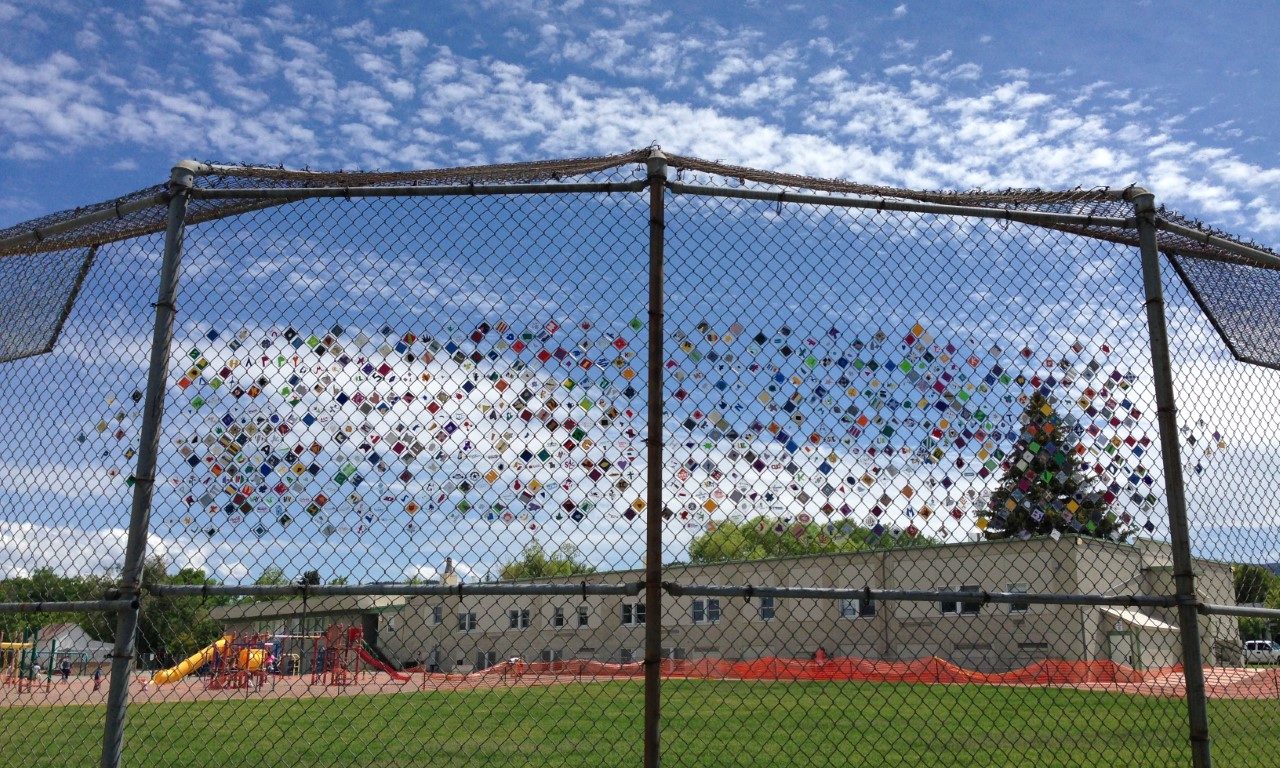
You will make tiles in honor of the special people who support your learning, and we will add it to our larger community. Eventually, all these tiles will be displayed on the fence of our playground by the big field. Let’s get started!
Hints and tips on individualizing tiles:
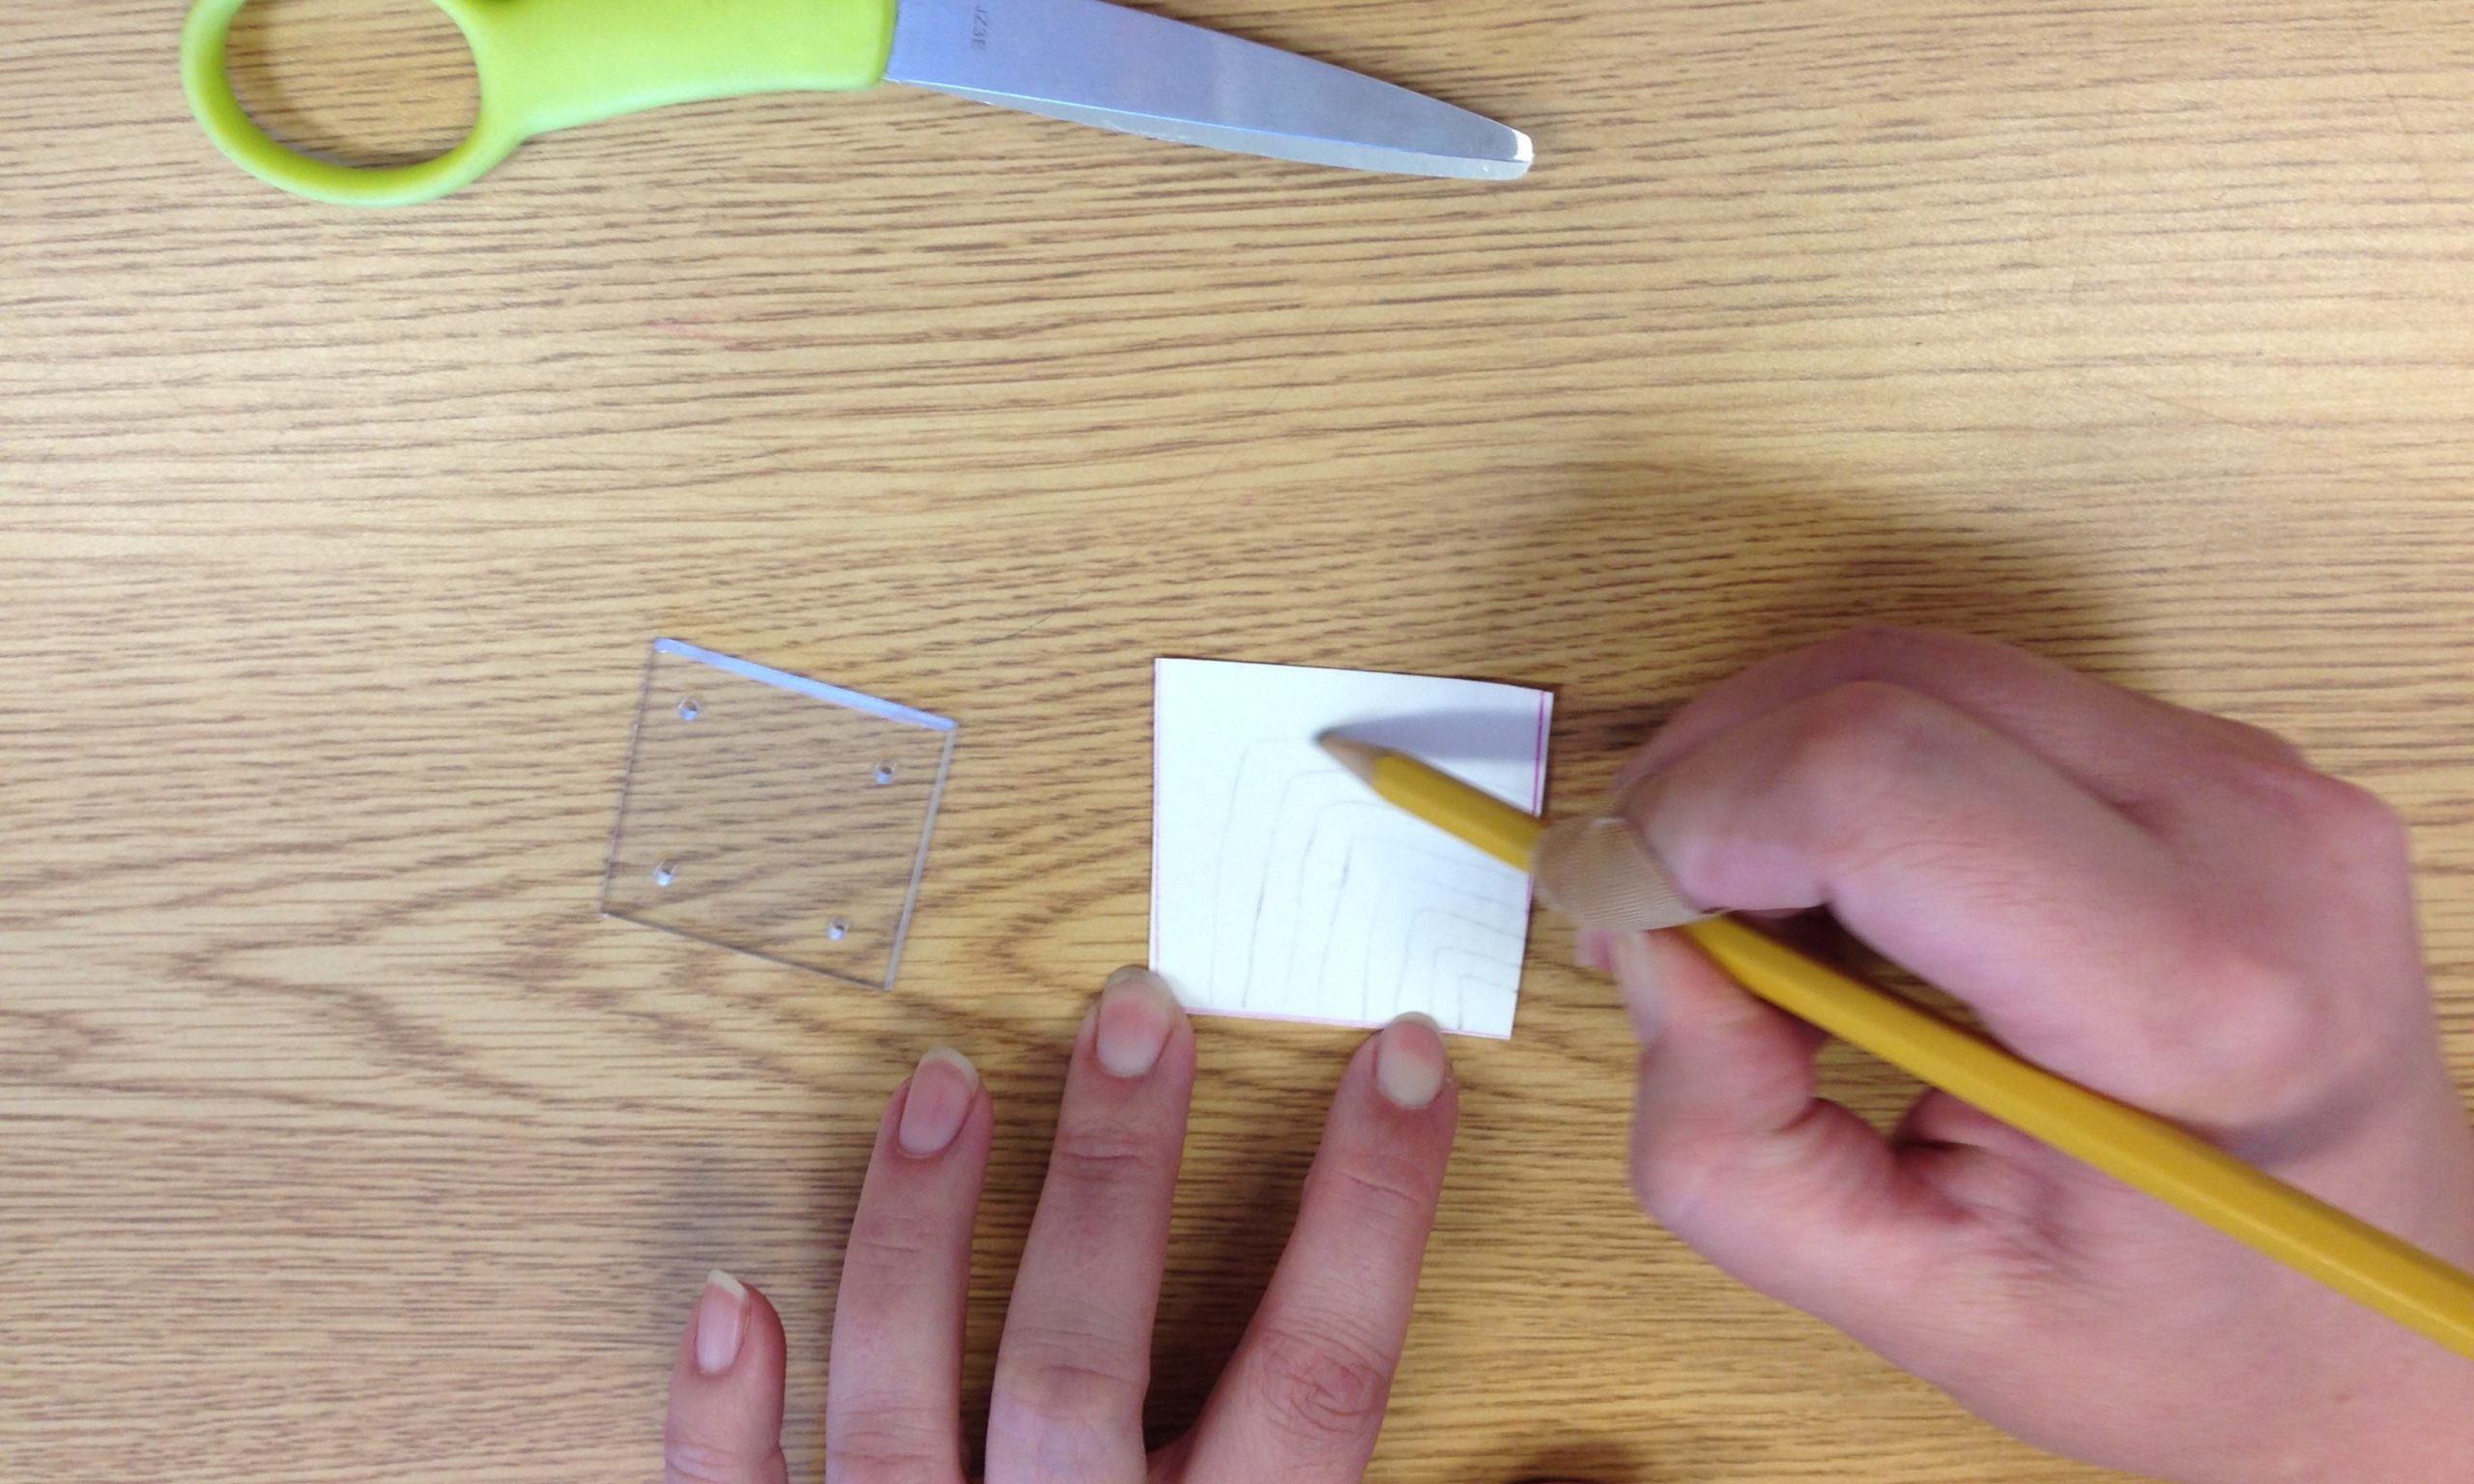
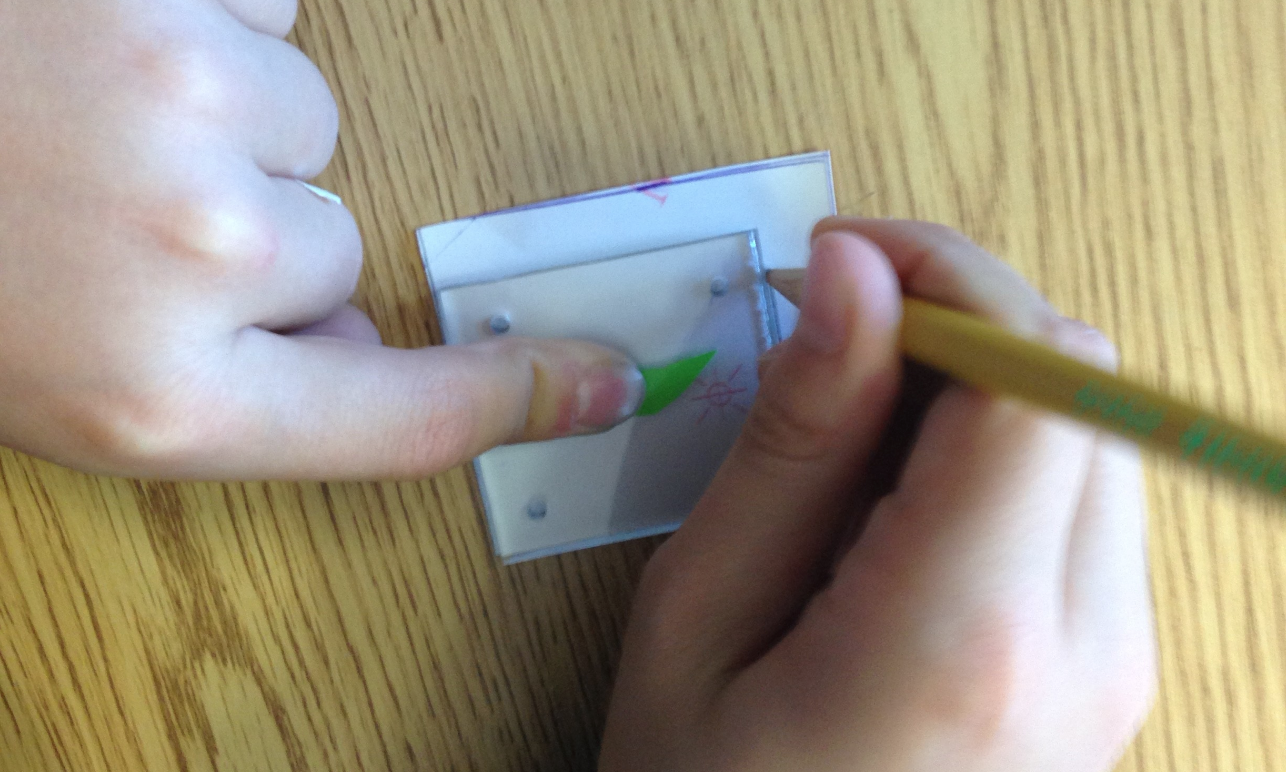
First you will need to make a simple design by drawing a shape on the paper backing of the vinyl. You get one quadrilateral (that’s a four-sided polygon) for your main color. You may use pieces out of the Rainbow Box for details and additional colors. We have some suggestions on how to make this part fun and easy.
1. Design and Cut
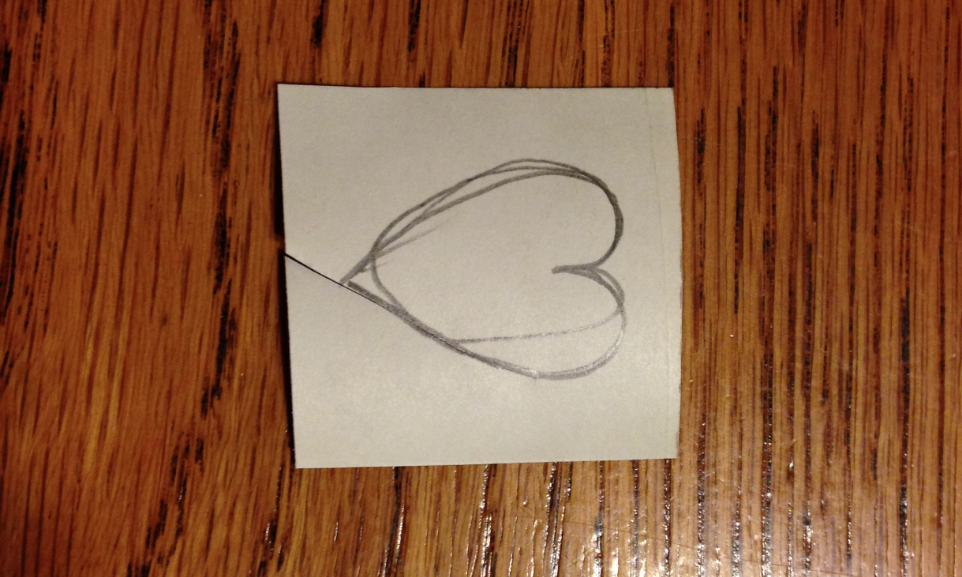
Make fairly large shapes so you can easily peel them later.
Hearts have been very popular
Big shapes and simple designs are best!
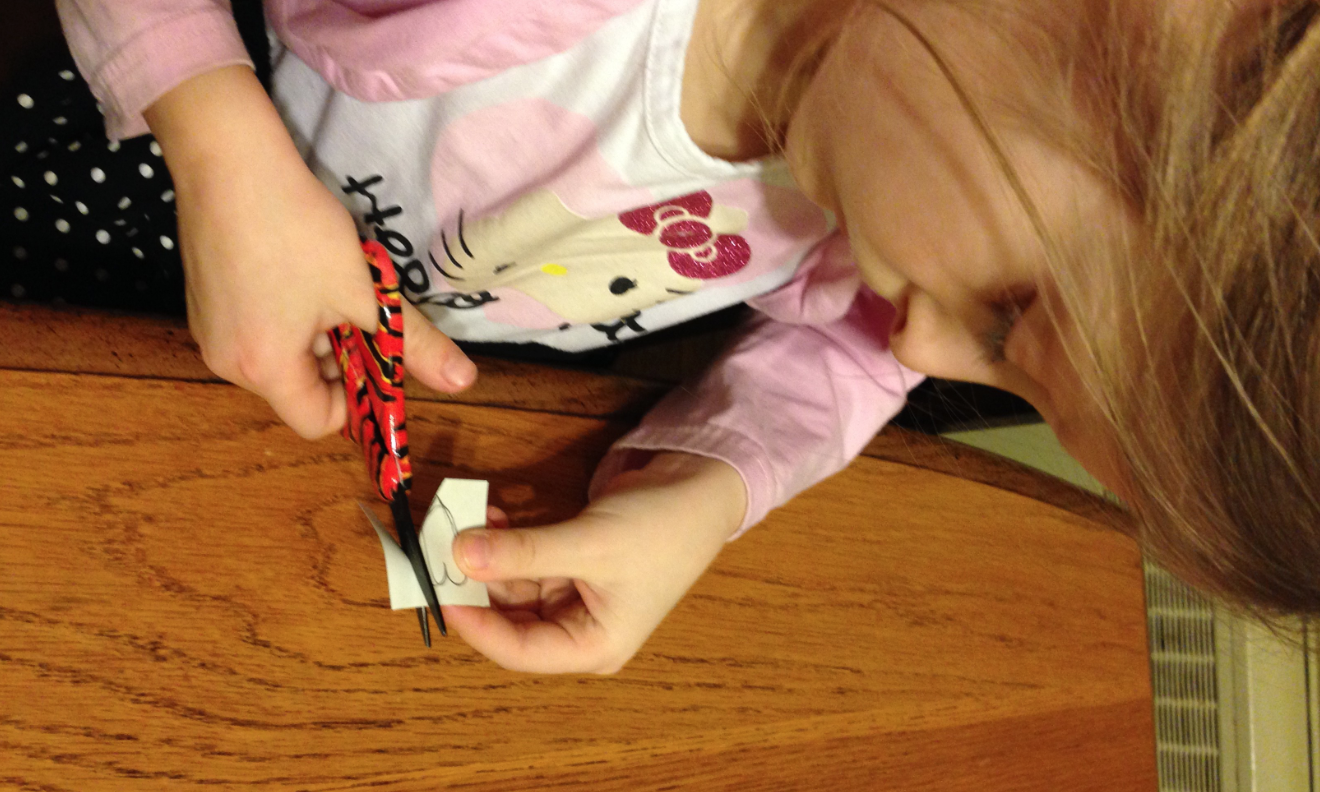
Try to do all the cutting yourself
Be prepared to be flexible with your design
You might have to change it to make it work better.
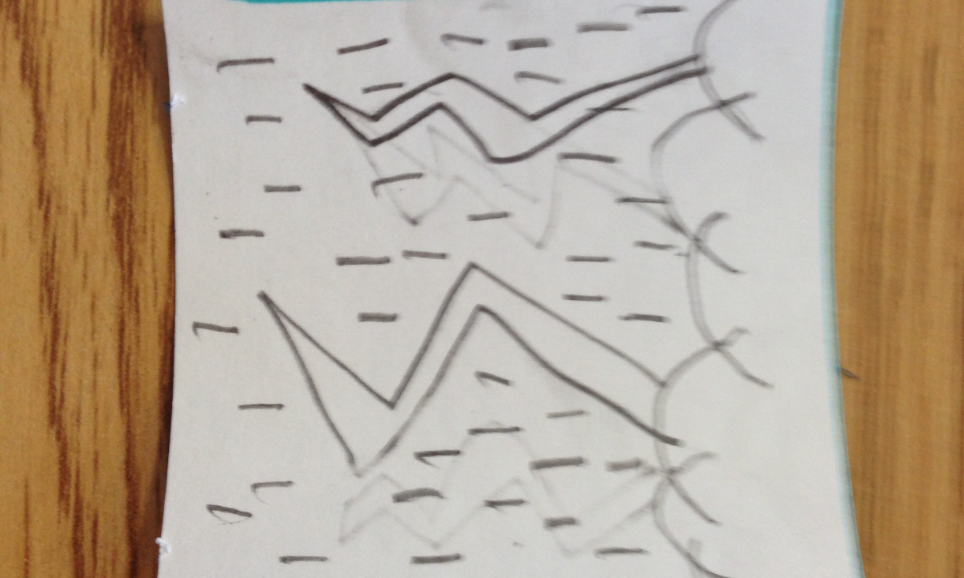
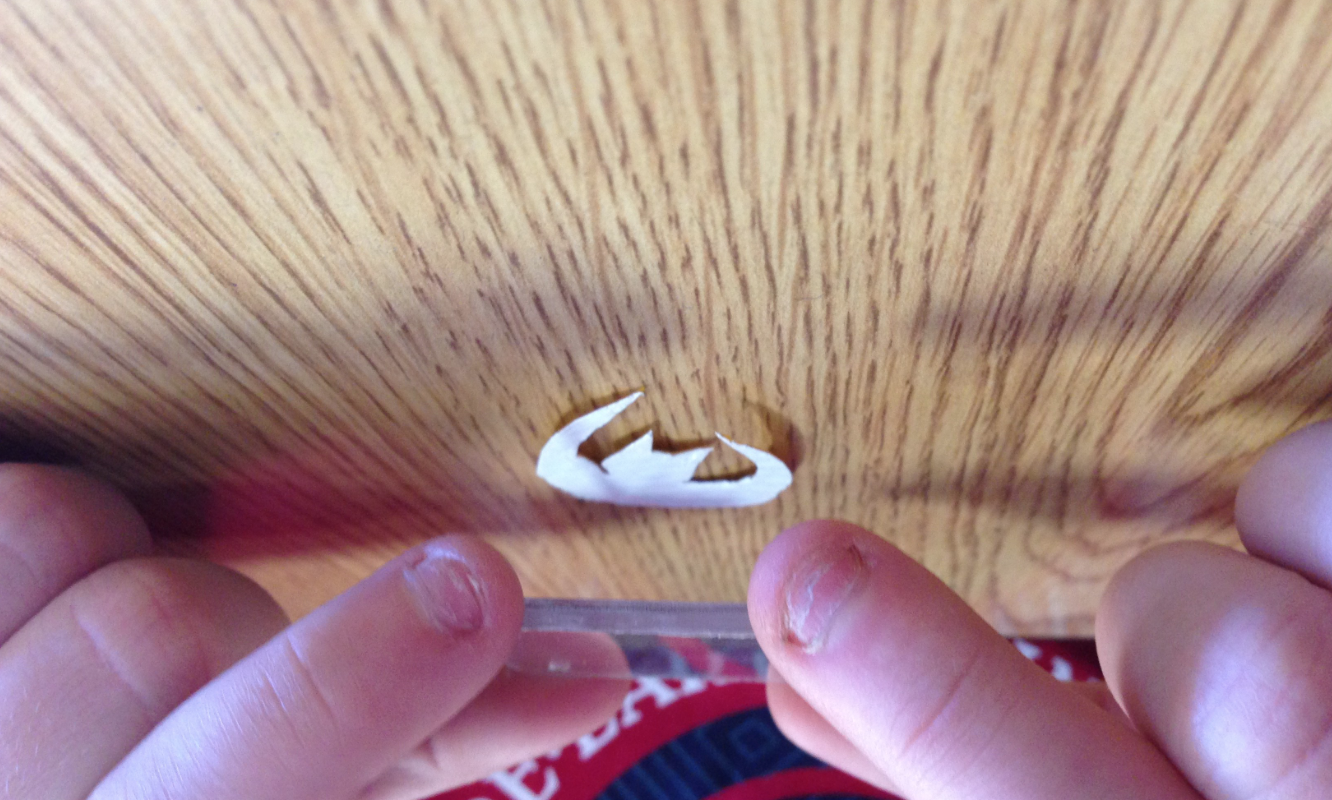
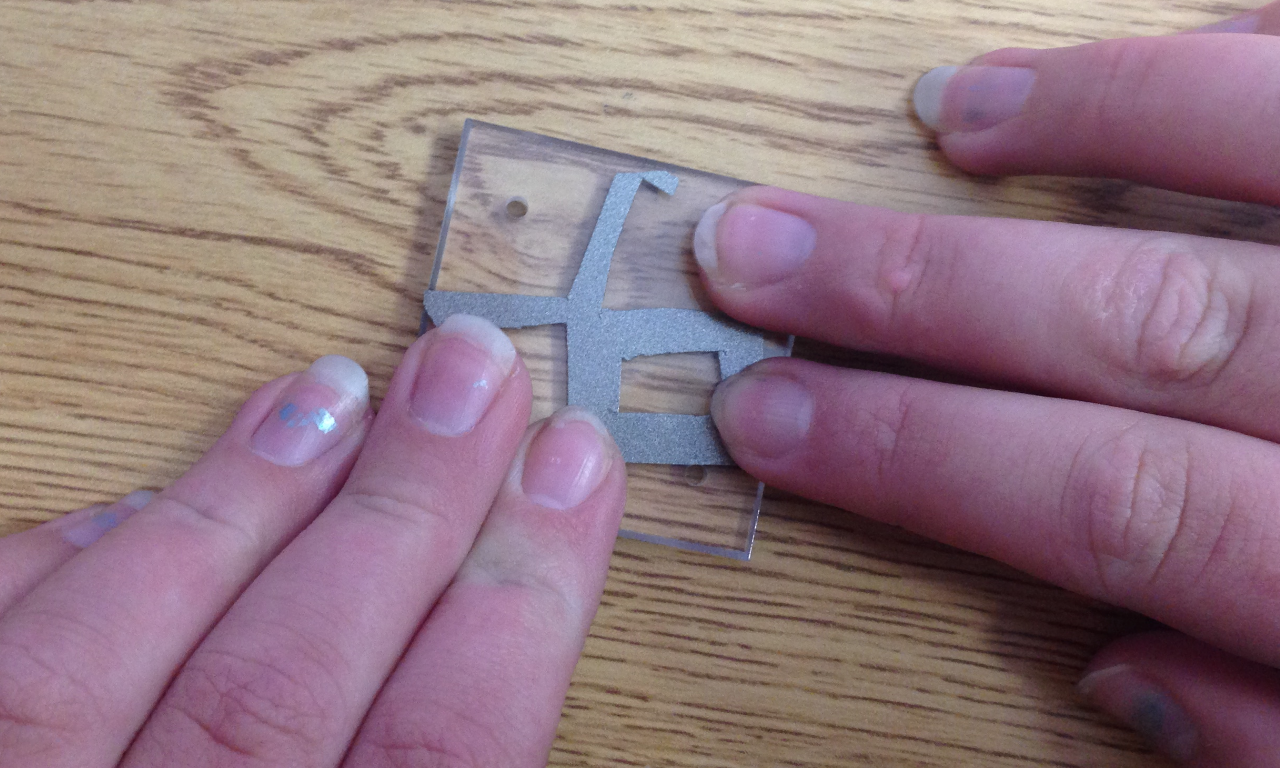
Uh-oh, too much detail that can’t be cut out.
You can layer different colors of vinyl instead.
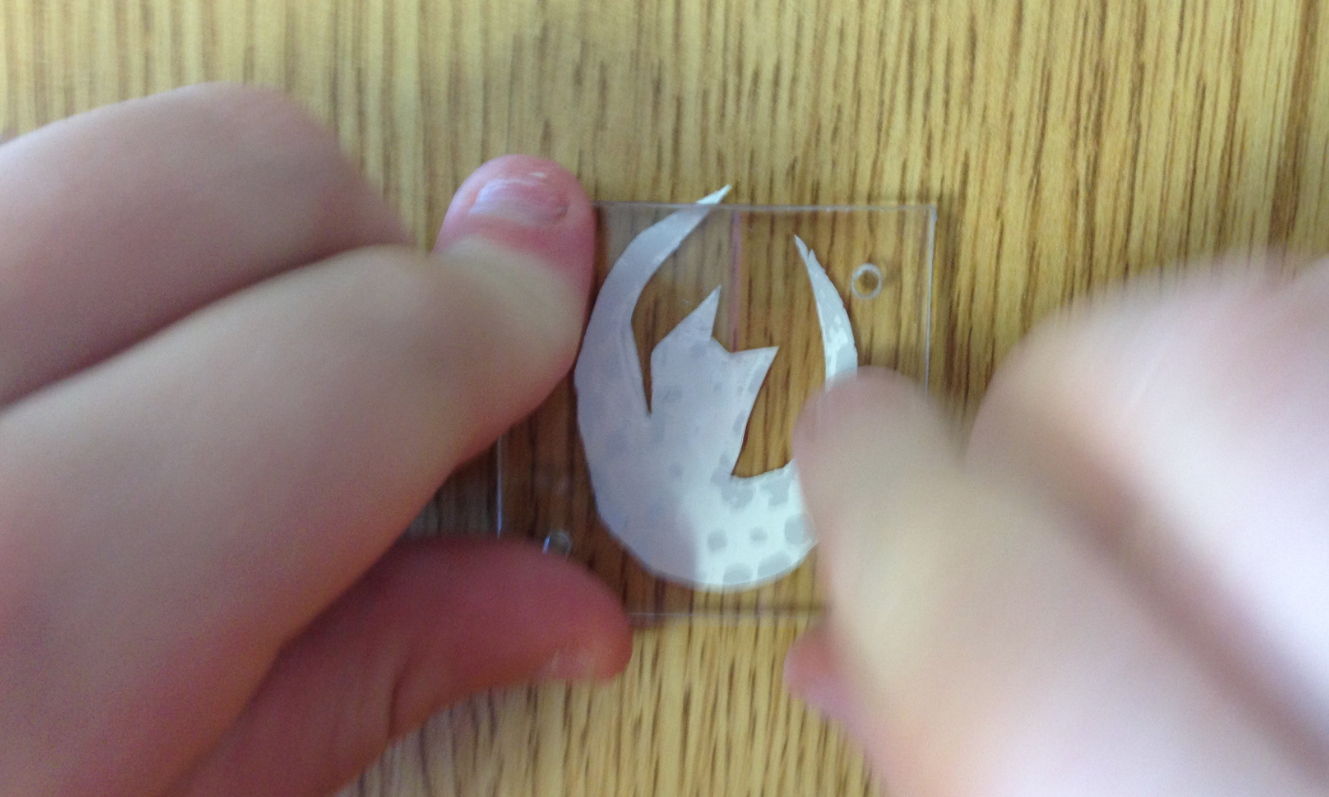
Much better!
Details can be added from scraps in the Rainbow Box.
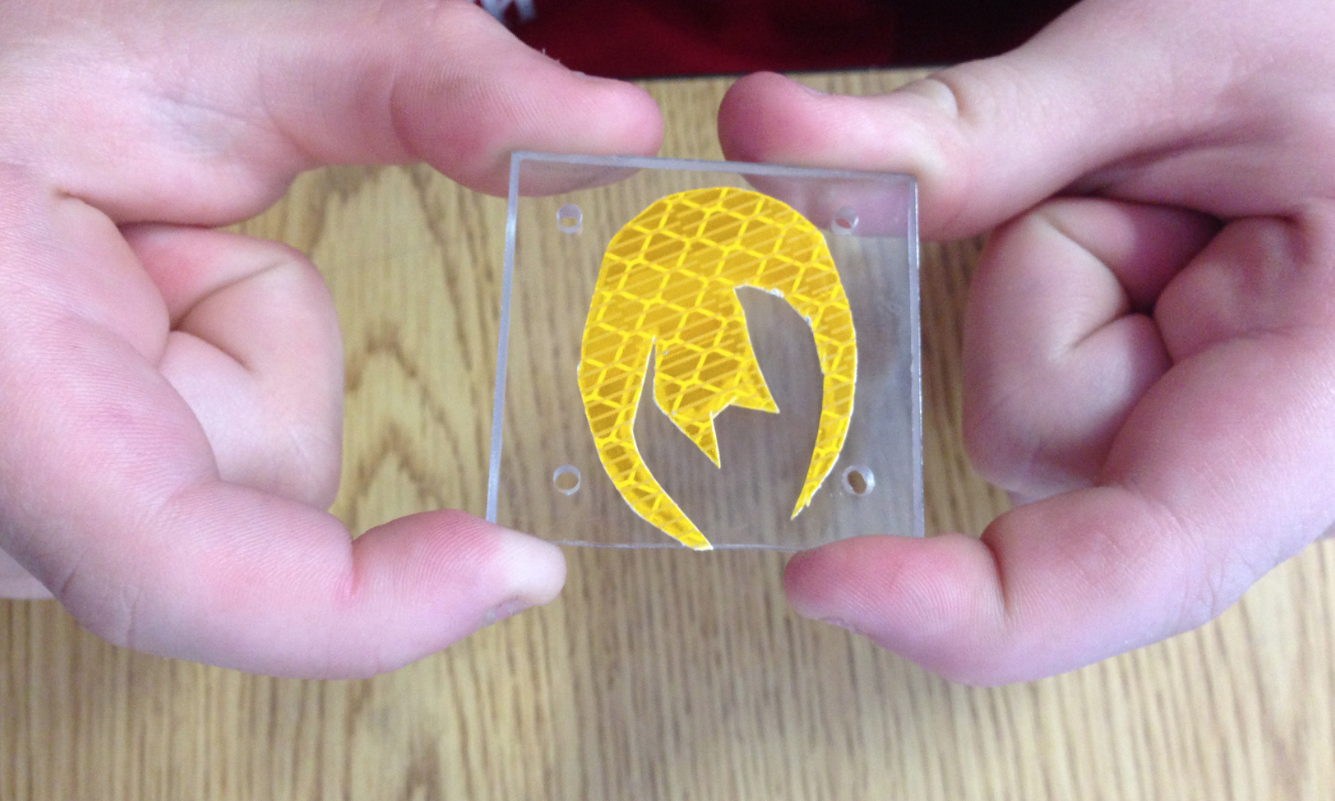
If you draw a design on the paper, it won’t show up on the final vinyl.
You will only see the solid shape.
Think about your design before getting a color of vinyl
You might have to change color if it doesn’t fit your design idea.
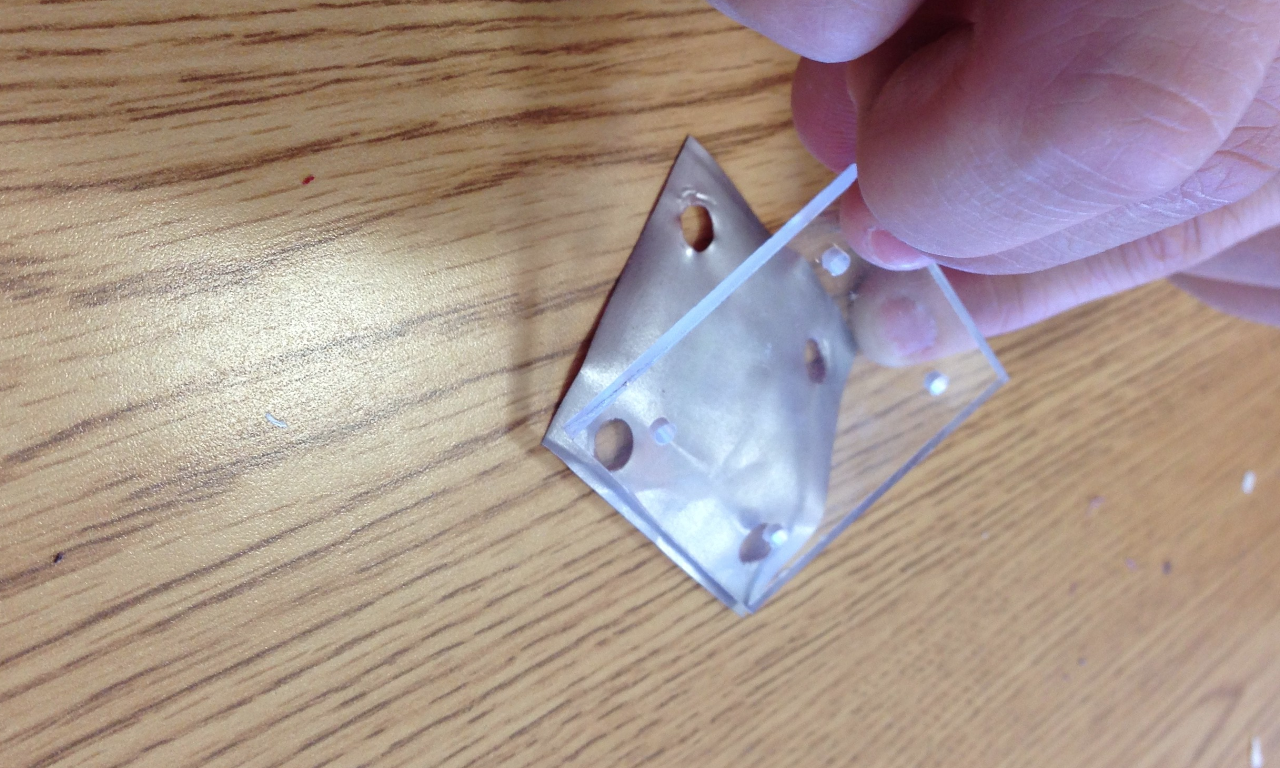
2. Peel and Stick
Wipe off the tile before sticking anything to it.
We will poke the holes in the vinyl later, so feel free to cover them up.
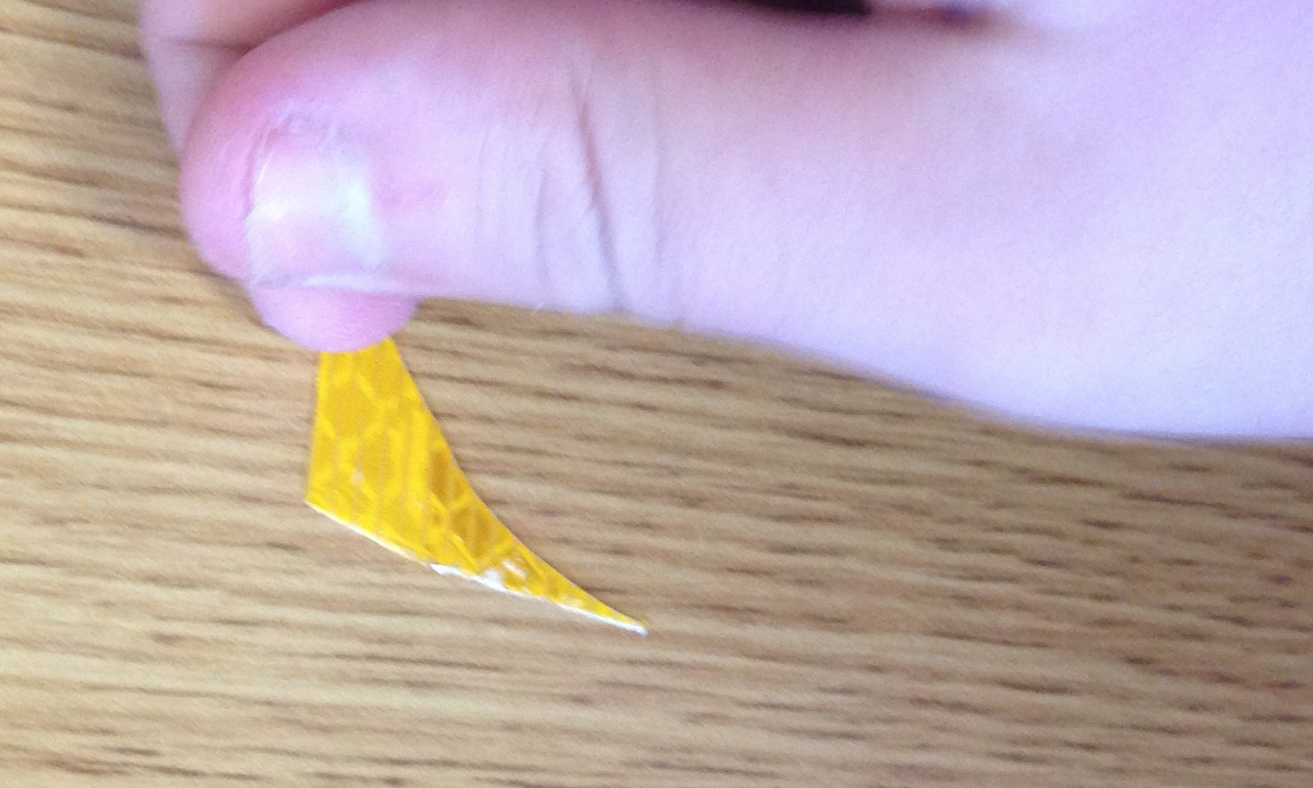
Avoid touching the sticky part
Have an adult approve the design and/or help with the peeling for younger students
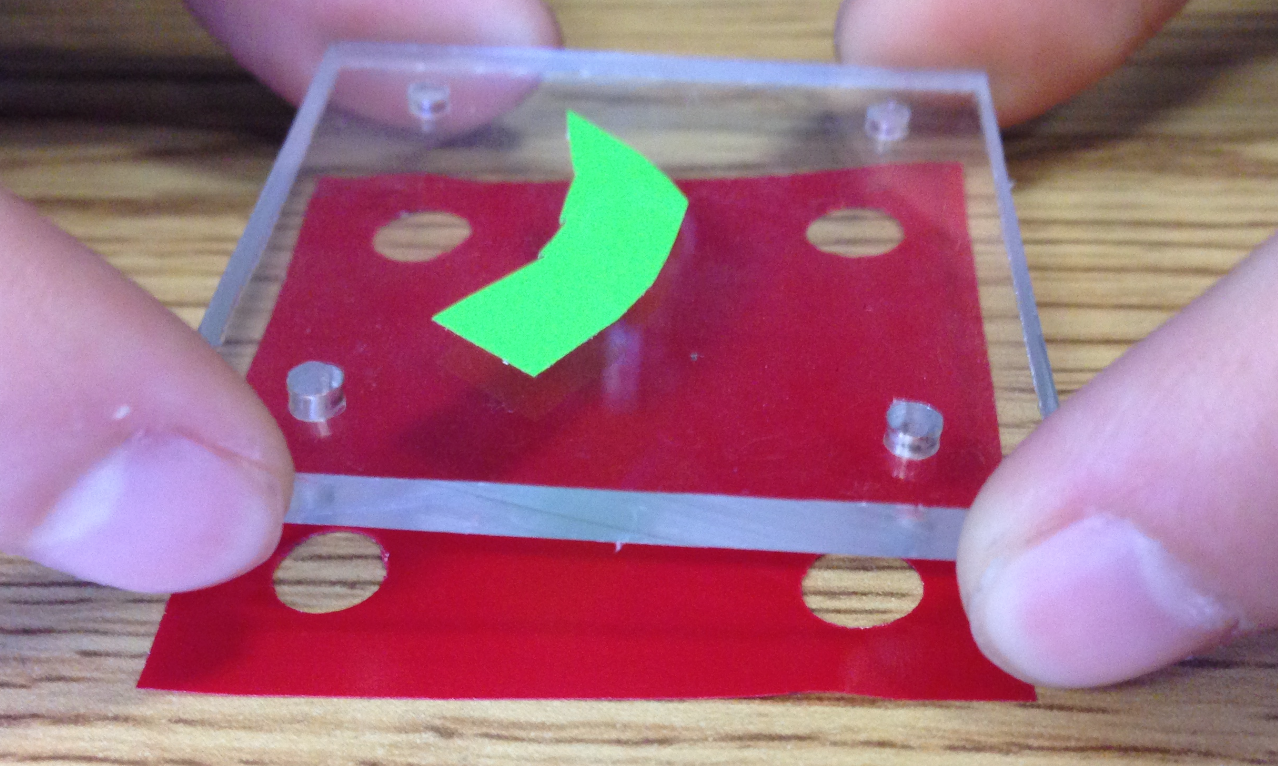
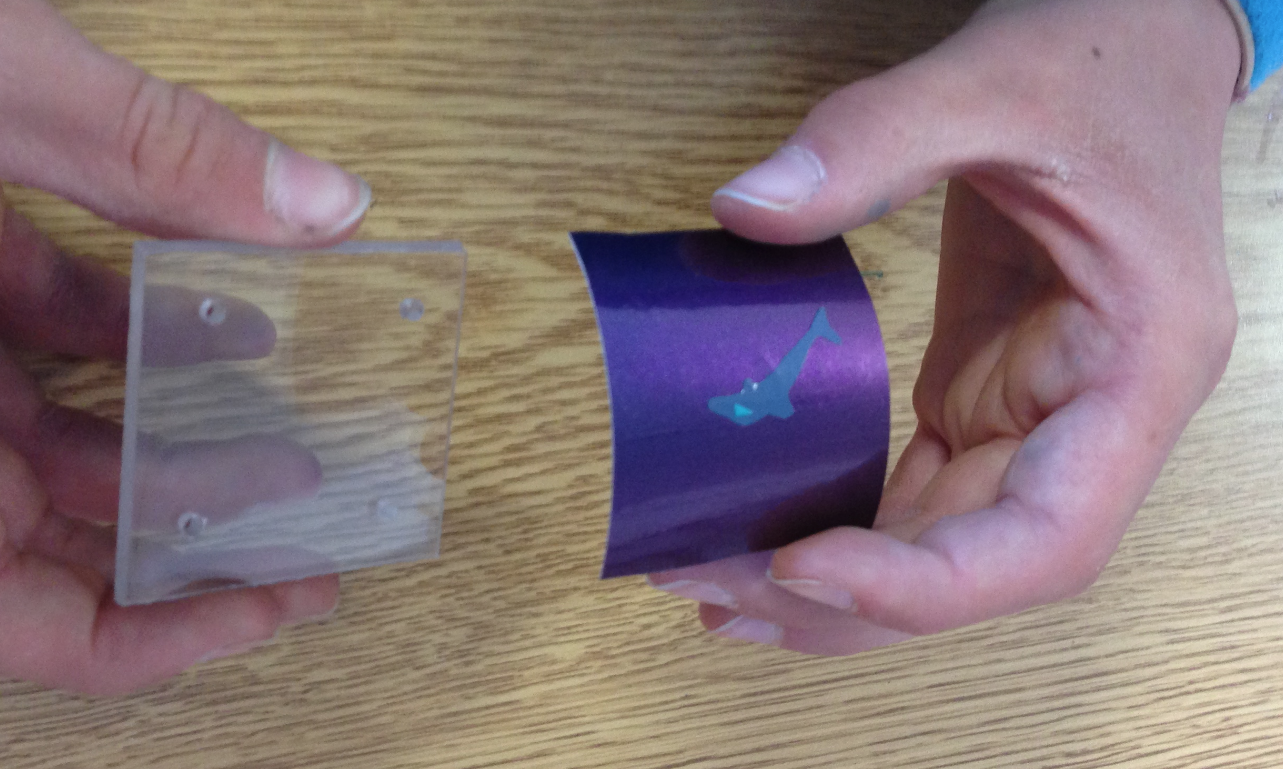
Lay the vinyl sticky-side-up and lower the tile for accurate placement
Use your fingers to smooth the vinyl and press it really well to the polycarbonate.
Try to get rid of all the air bubbles.
If the vinyl sticks to your finger, put the corner of the tile on the vinyl.
It will stick to the tile instead of your finger. Then lay the rest of the tile on the vinyl.
Remember to press the vinyl and try to work out all the air bubbles
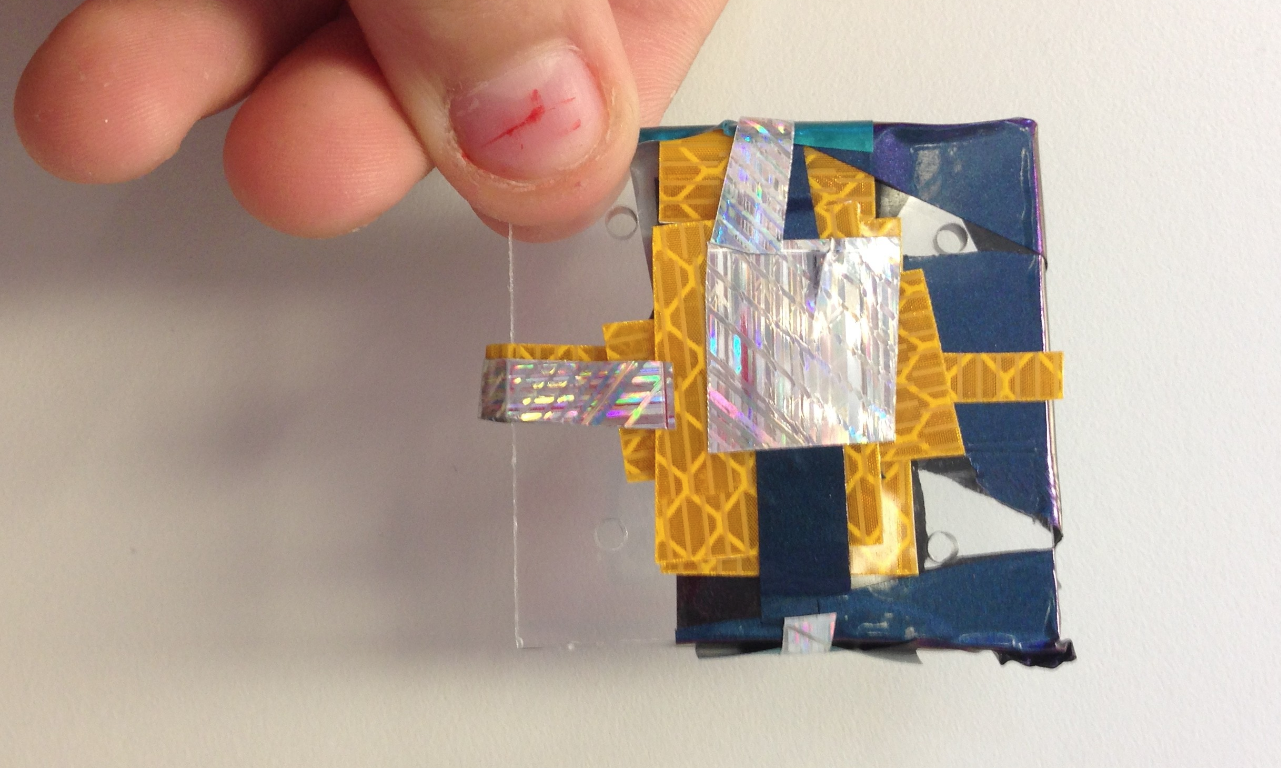
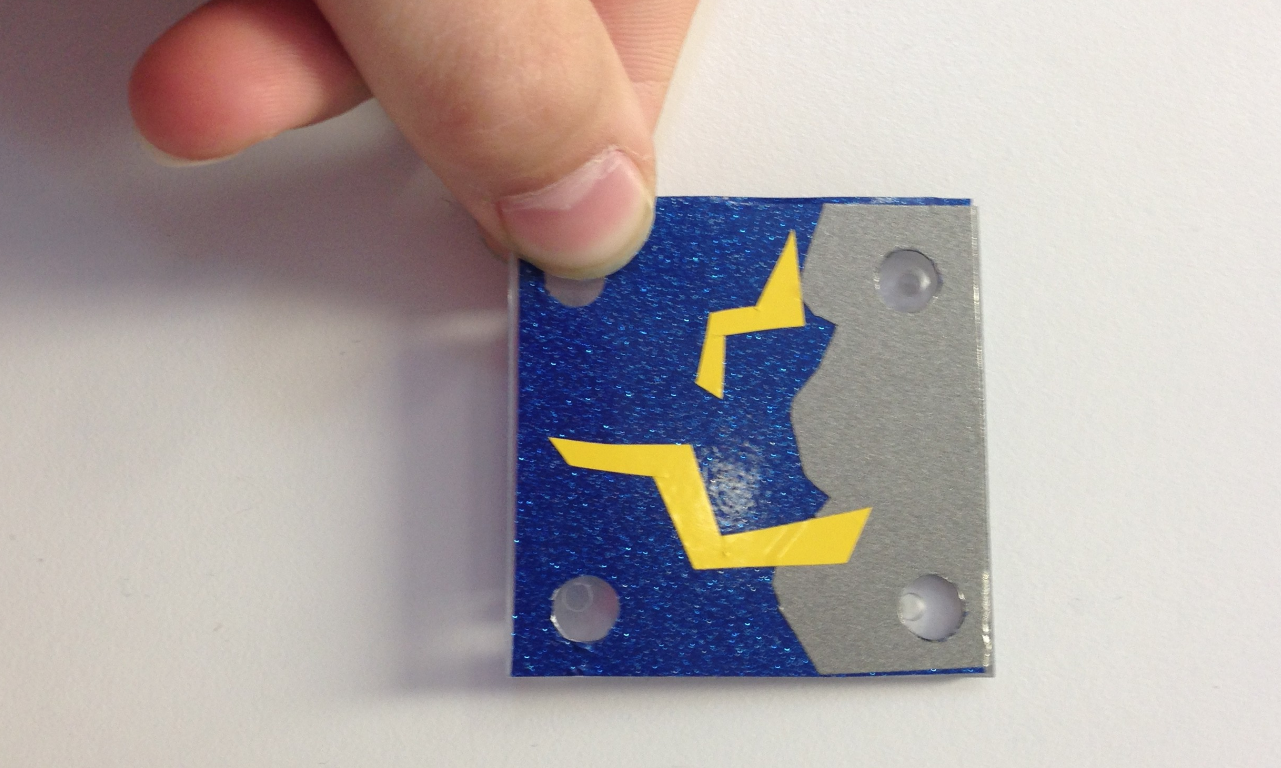
Avoid wrapping vinyl around the edges
It won’t stay and will weather poorly. Use scissors to trim any vinyl that sticks out over the edge. You can layer vinyl, but try to keep it to only 4 layers or less. Uh-oh, too many layers and wrapping!
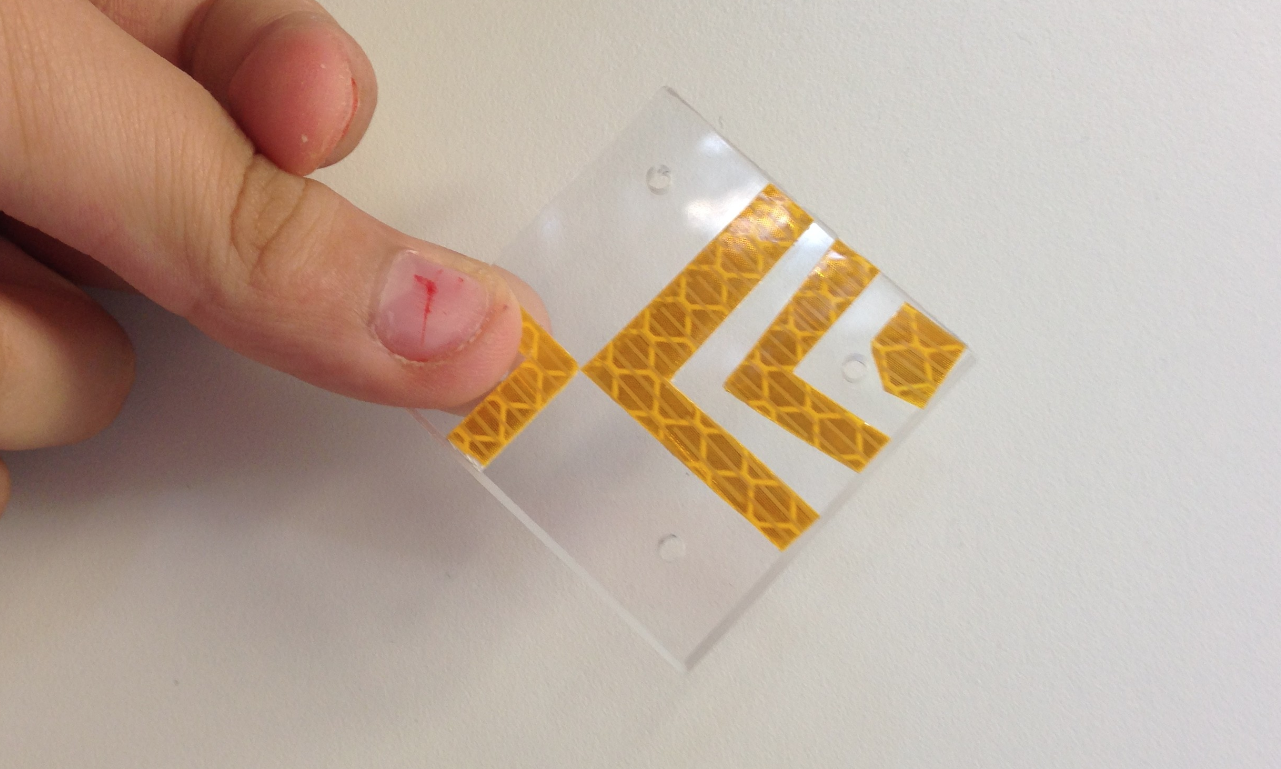
Ahh, much better.
NOTE: Your tile will hang this direction–make your design so that it is a rhombus on the angle (not the usual way we draw on paper).
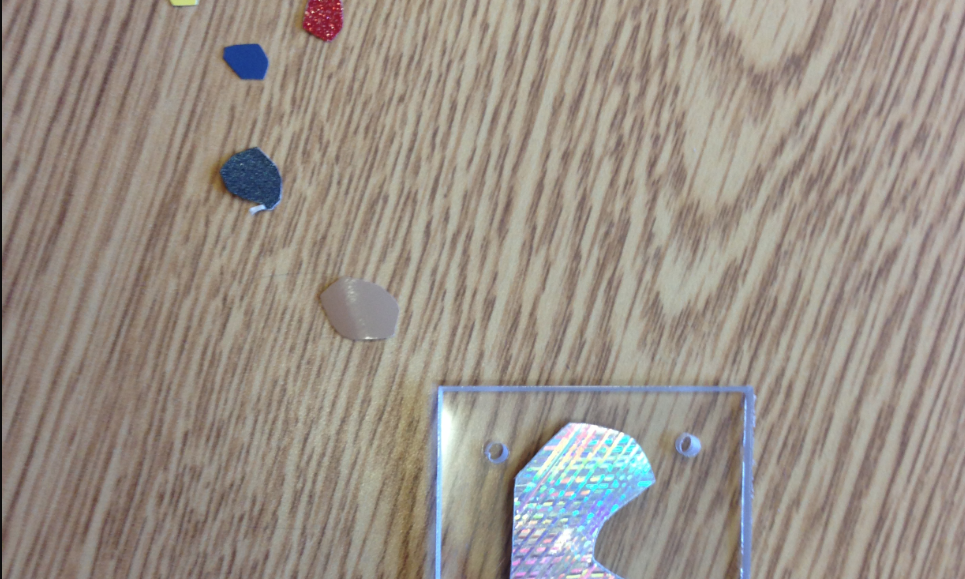
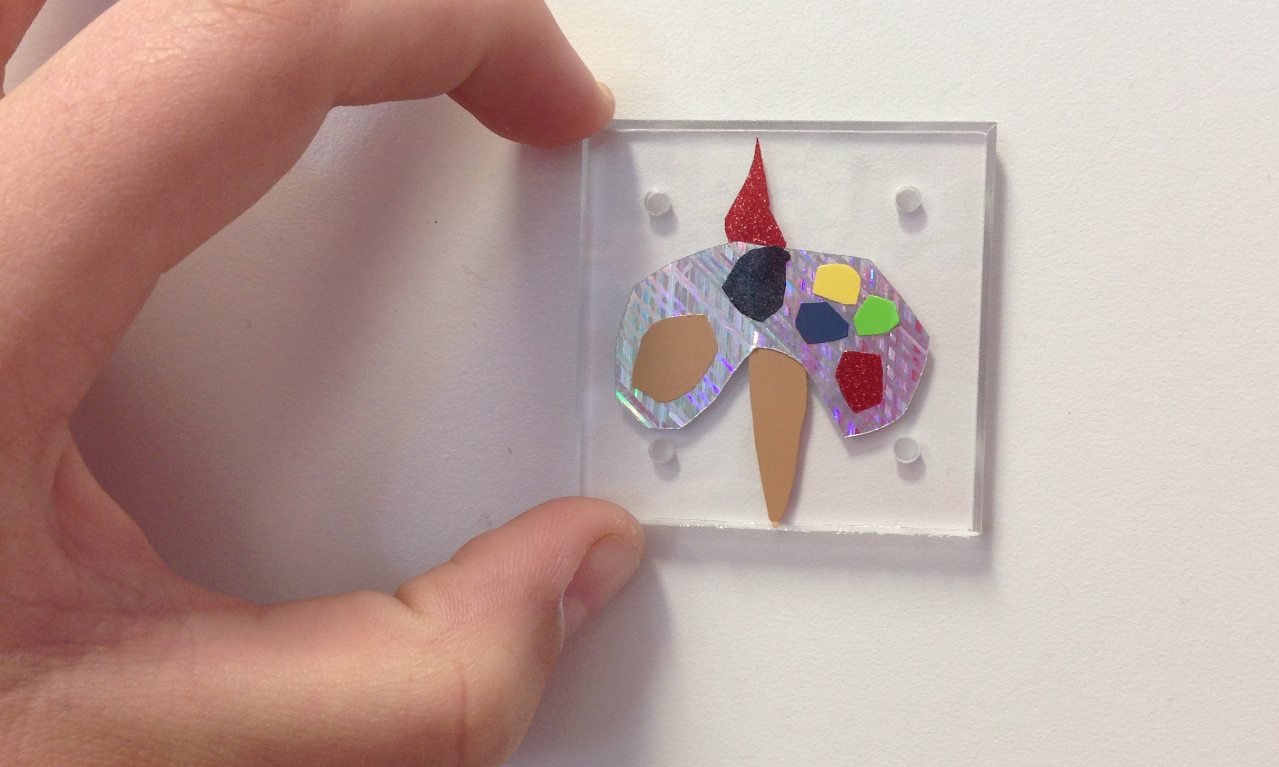
If you layer, you can put all the design pieces on one piece of vinyl, then stick the entire big background piece all at once.
Details added, then stuck to the tile.
3. Clean-up
Only large scraps that have not been unpeeled should go in the Rainbow Box
Be careful with your vinyl, it might stick to things! Don’t worry, you can pick it off.
Wrap-up
Thank you for joining us in our art-making today! We appreciate each and every member of our collaborative community and can’t wait to see these new tiles installed. You can look later during recess to find yours (it will not be there today–we still have a few steps before it’s ready for the fence).